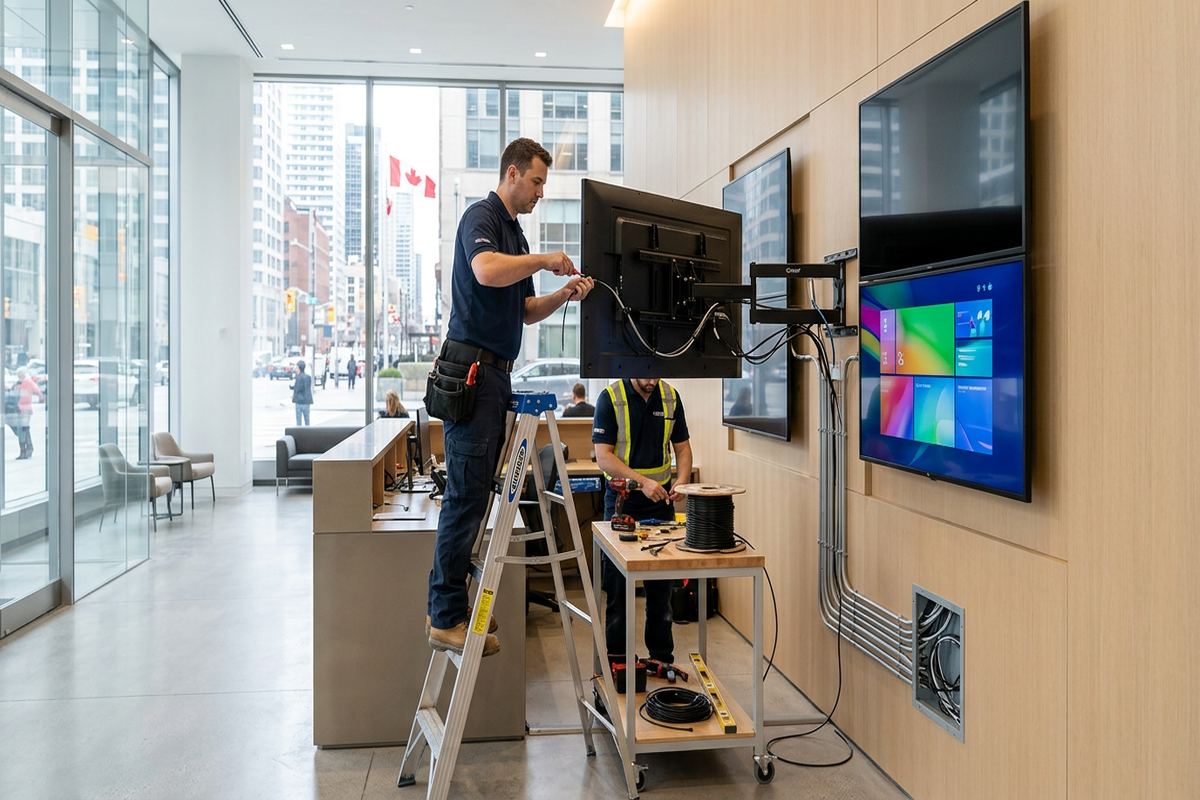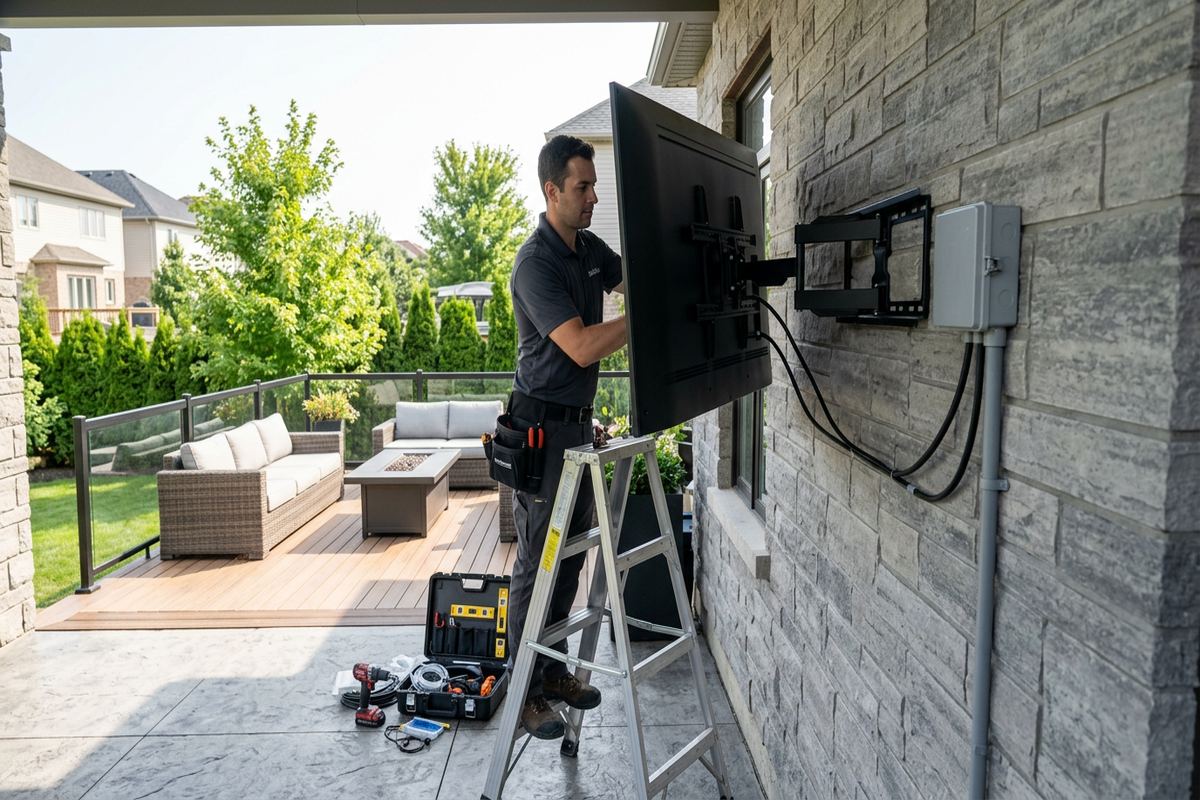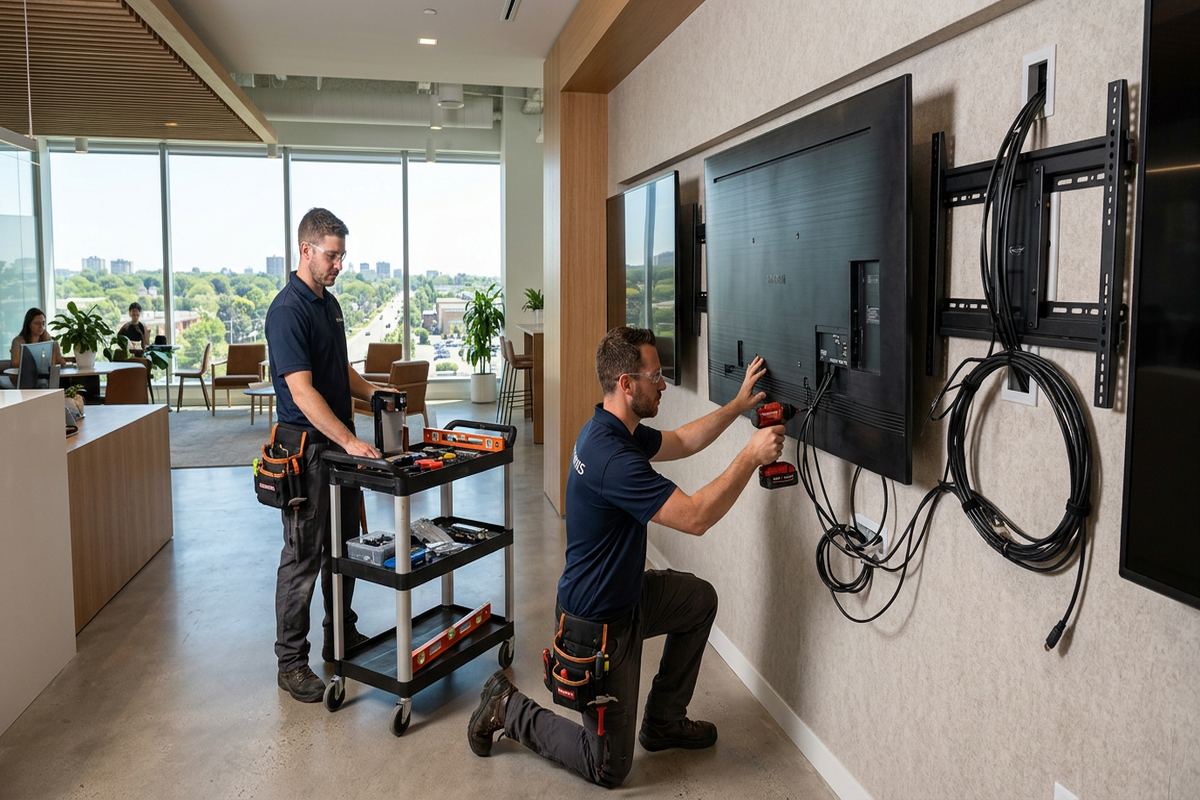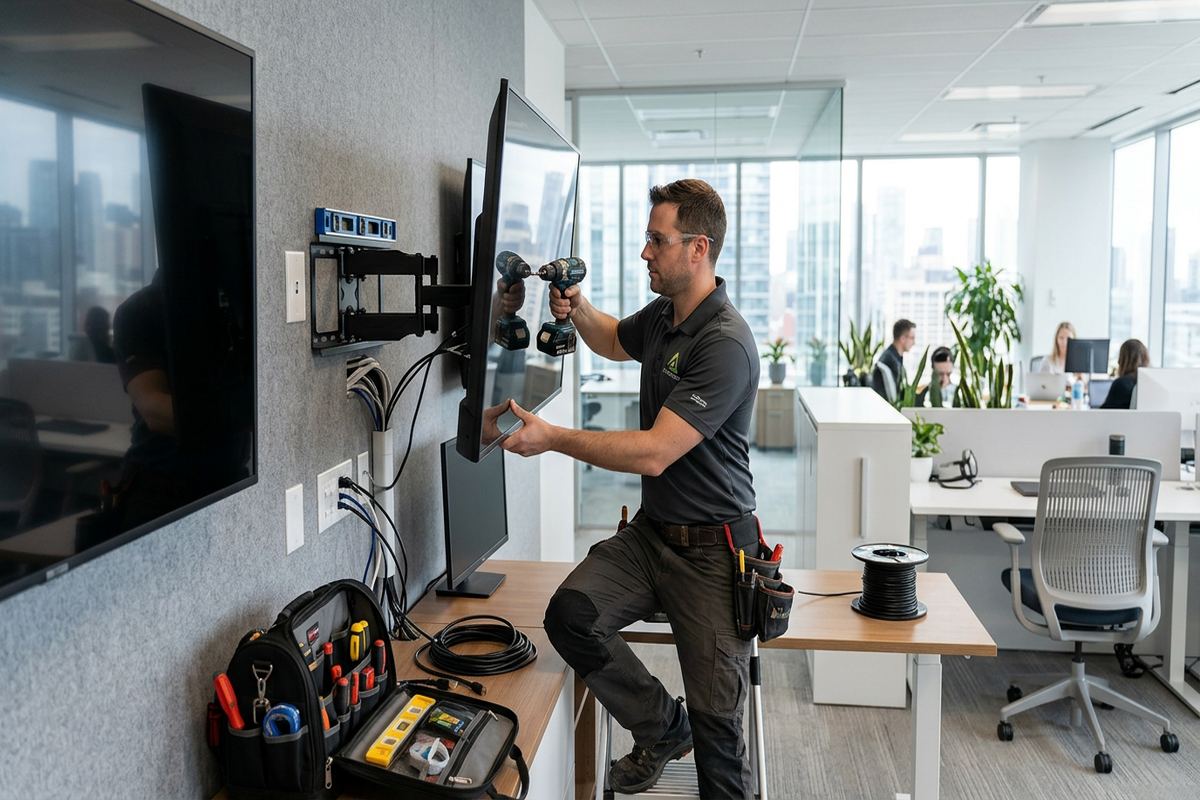
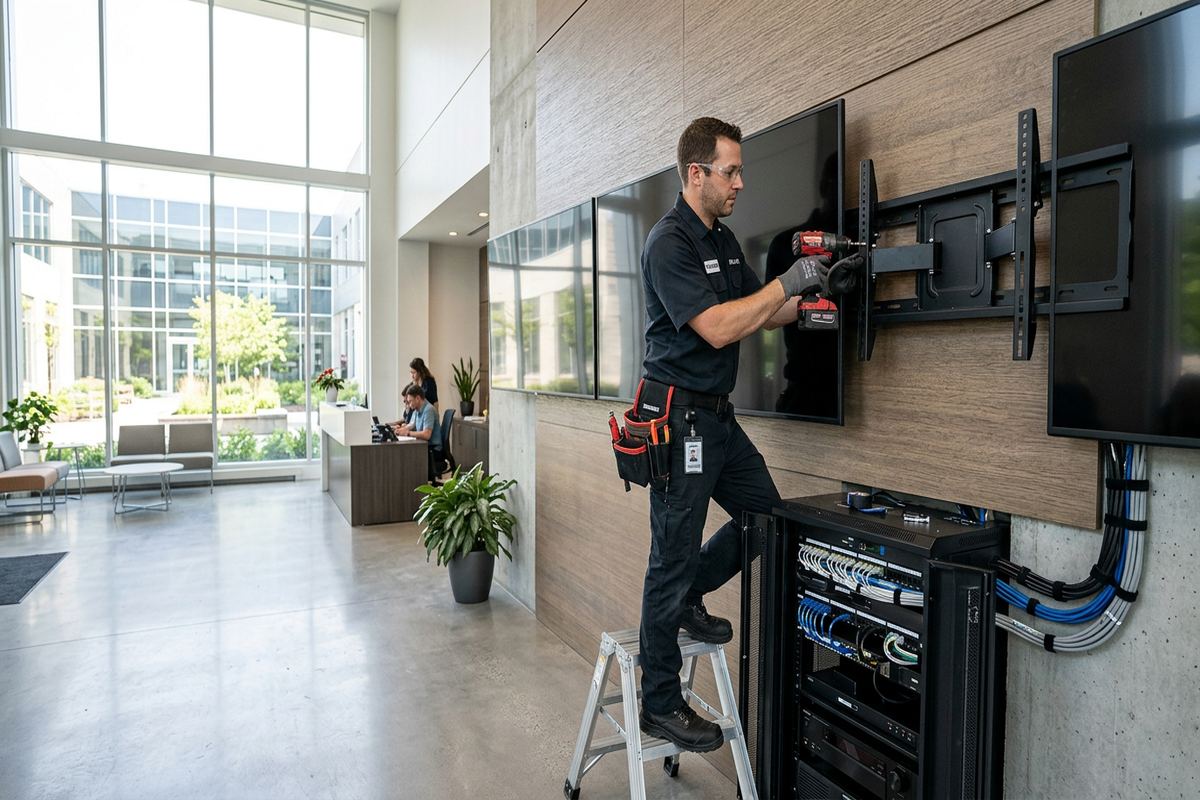
A display install is judged on sightlines, cable management, and whether it turns on for the meeting. UnifiedLink mounts, wires, and configures displays so nothing is visible except the screen.
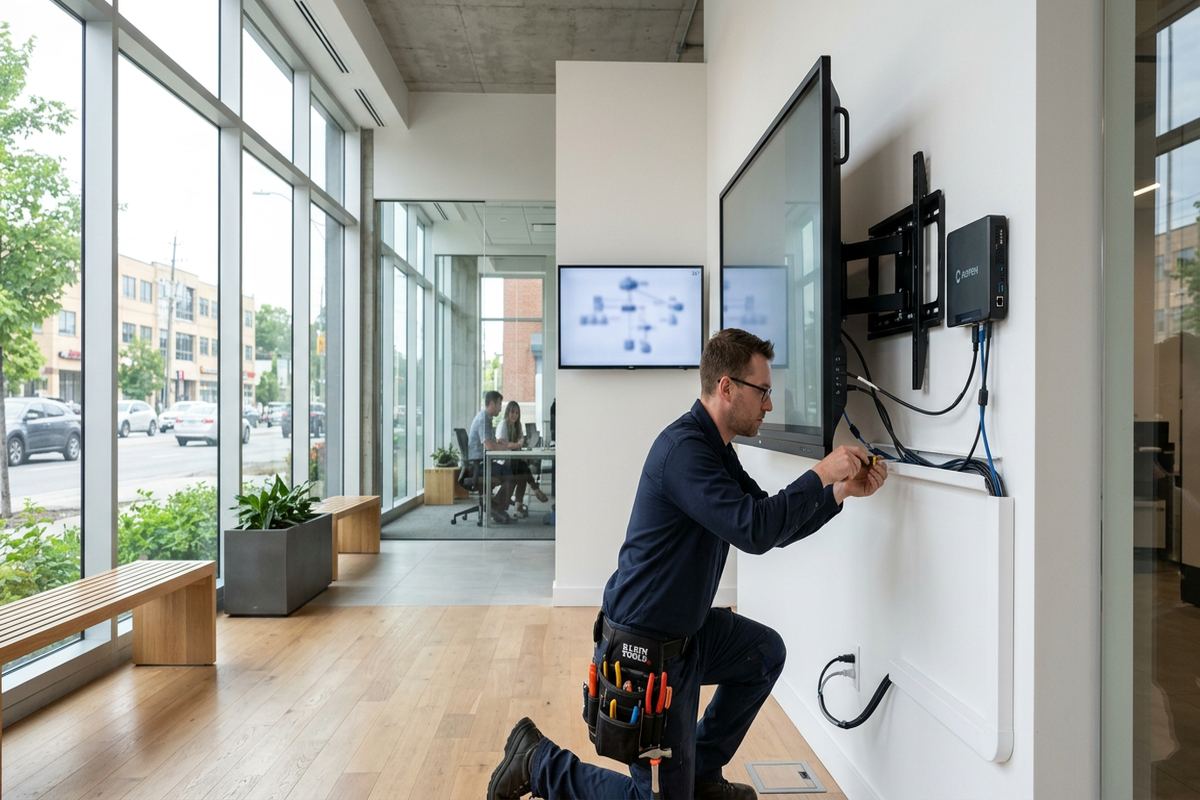
What this install involves
- A site assessment to confirm what the property can support and what it actually needs.
- A written scope covering equipment, cable routes, exclusions, and ownership.
- Installation with tidy, labelled cabling and proper terminations.
- Configuration, testing, and handover with documentation and your own credentials.
Suited to residential-and-commercial properties
Mounting, sightlines, and structure that will hold
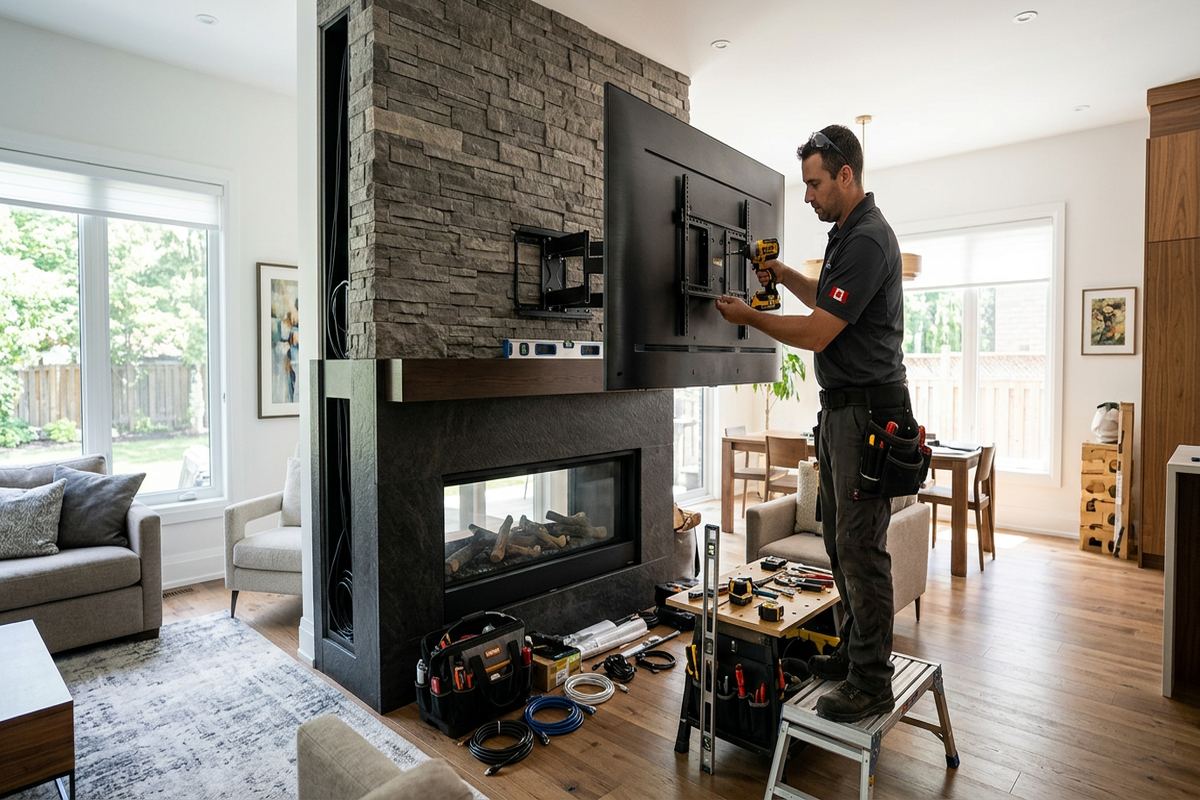
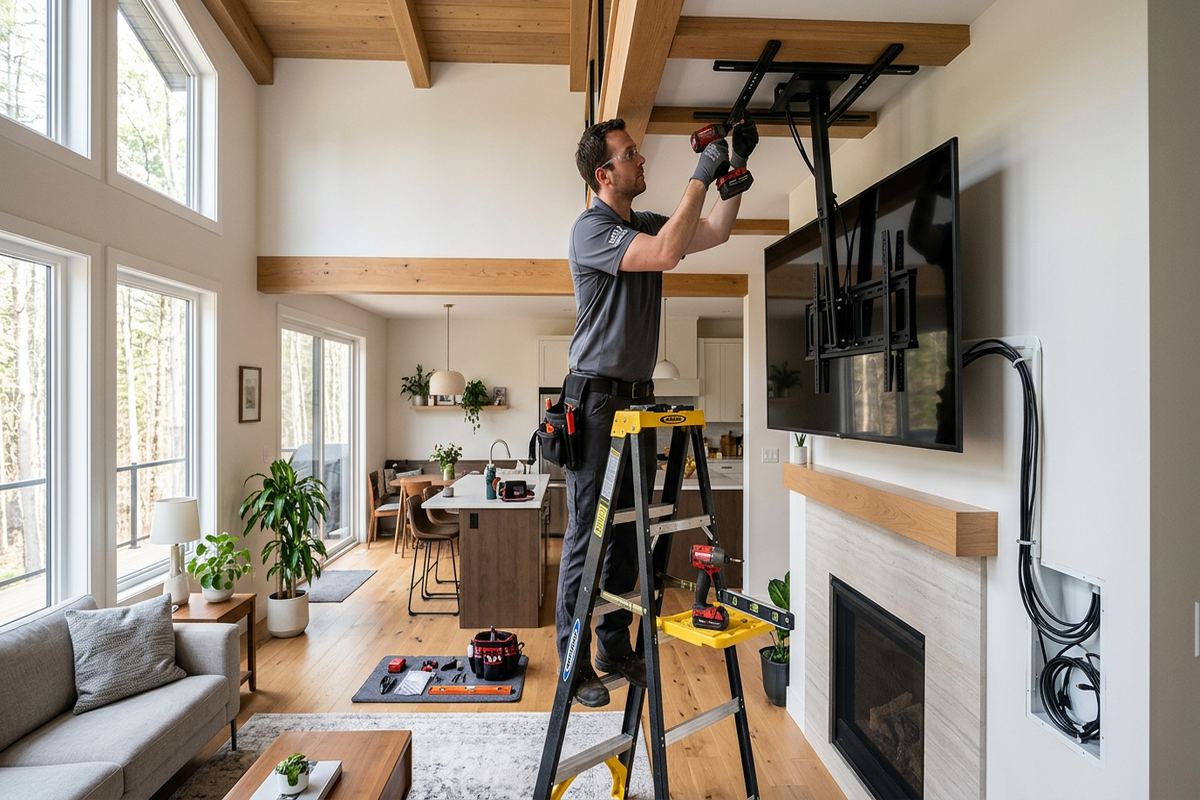
Height is the most common mistake in display installation. A screen mounted above a fireplace looks tidy in a photo and forces everyone to watch with their neck extended. We set height from seated eye level in the room's real seating layout, then confirm viewing angles from the furthest and most oblique positions before drilling anything.
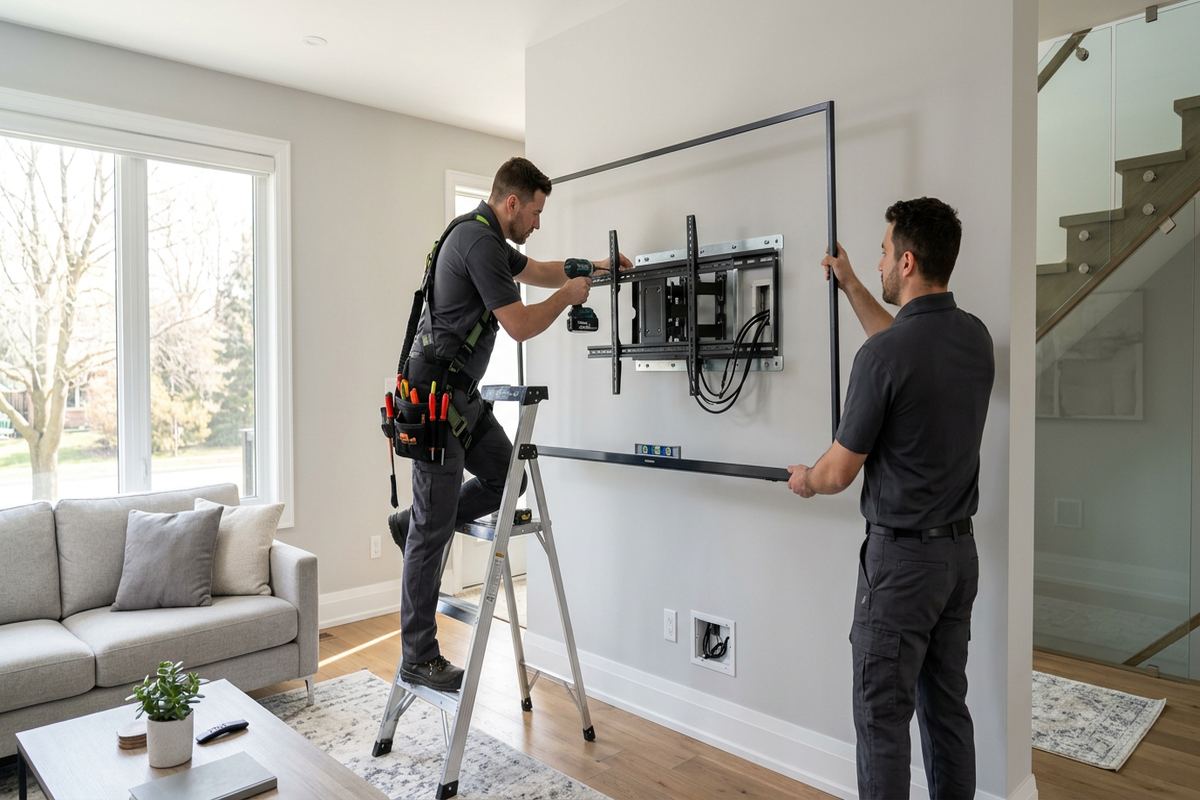
Structure decides the mount. Wood studs, steel studs, concrete, brick, and hollow assemblies each need different anchoring, and a large screen on the wrong fastener is a safety issue rather than a finish issue. We confirm what is behind the drywall, use the correct hardware, and account for the full moving load of an articulating arm rather than the static weight alone.
Glare is planned for, not discovered. Windows opposite a screen, downlights above it, and glossy finishes nearby all cost contrast. Where the position is fixed, we choose panel placement and angle to reduce reflection instead of pretending brightness will overcome it.
- Height set from seated eye level in the real seating layout
- Wall structure confirmed and anchored with the correct hardware
- Articulating mounts rated for the full moving load
- Glare and reflection assessed against windows and lighting
- Power and signal routed in-wall for a clean finish
What a Interactive display installation project looks like from start to finish
Every interactive display installation job we take on runs through the same sequence, because skipping a stage is how installs end up half-finished. It starts with a site assessment rather than a price over the phone. We look at the property, confirm construction type, check where cable can realistically be routed, look at where power is available, and confirm what the existing network and electrical service can support. A quote written without that visit is a guess, and guesses get corrected mid-install at the customer's expense.
After the assessment you receive a written scope. It lists the equipment by model, the mounting positions, the cable routes, the configuration work included, what is explicitly excluded, who owns the accounts at the end, and what the warranty covers. If something on that list is likely to change once walls are opened, we say so in the scope rather than discovering it on install day. Nothing gets ordered until you have read it and agreed to it.
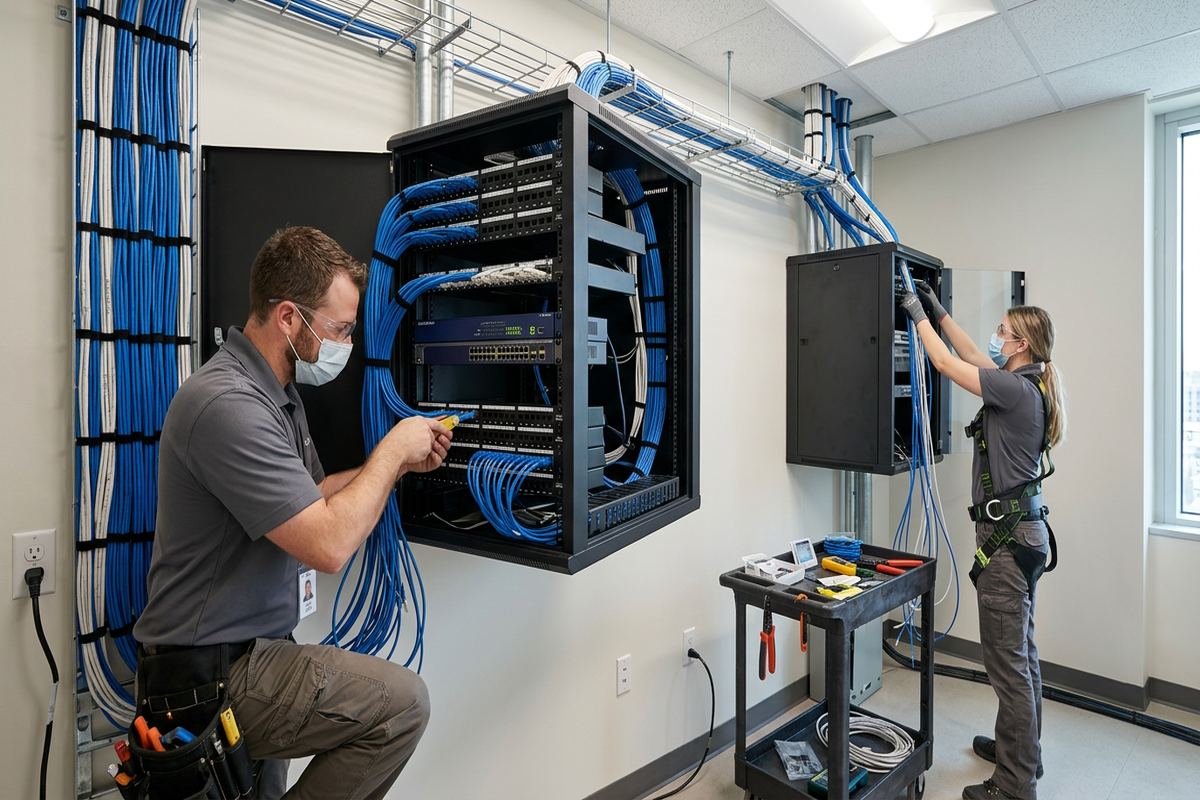
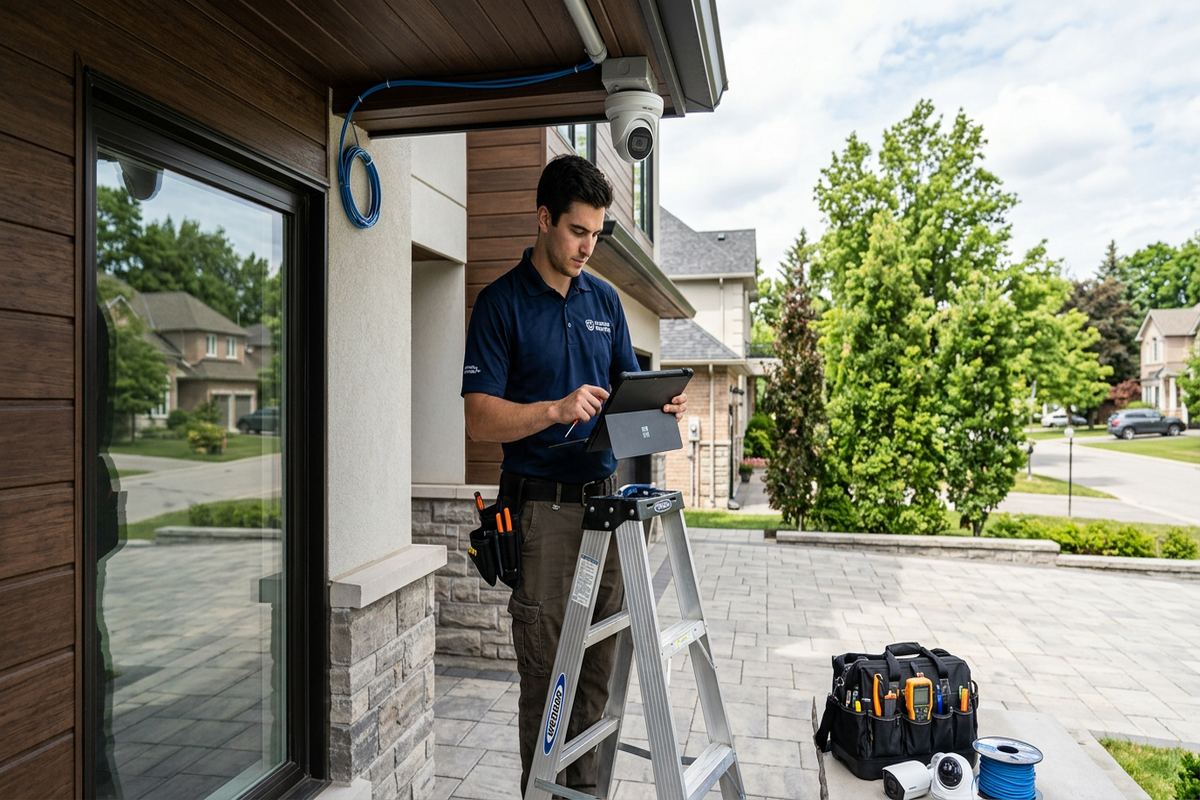
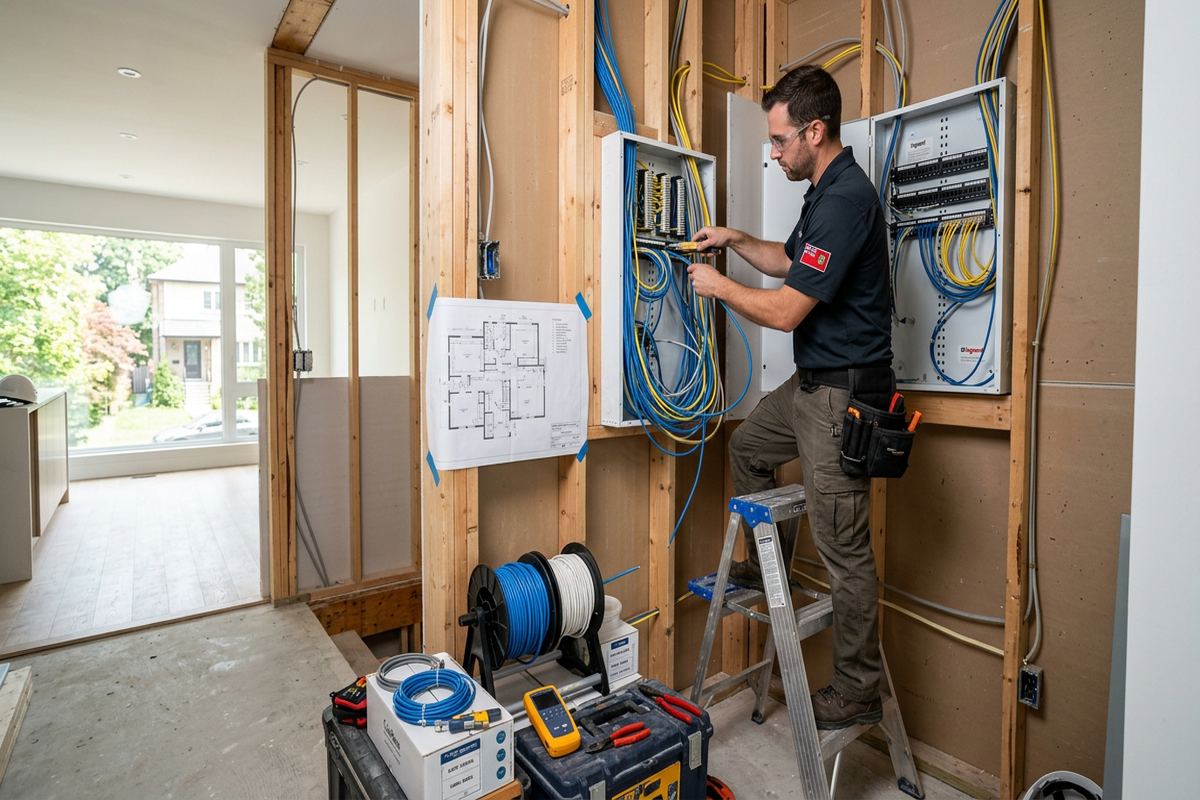
Installation follows the scope. Cable is pulled in continuous runs, terminated to a single consistent standard across the property, and labelled at both ends. Devices are mounted level, sealed where they meet the building envelope, and positioned so a future technician can reach them without dismantling a ceiling. Configuration happens on site, not remotely from a template, so the settings match how the property is actually used.
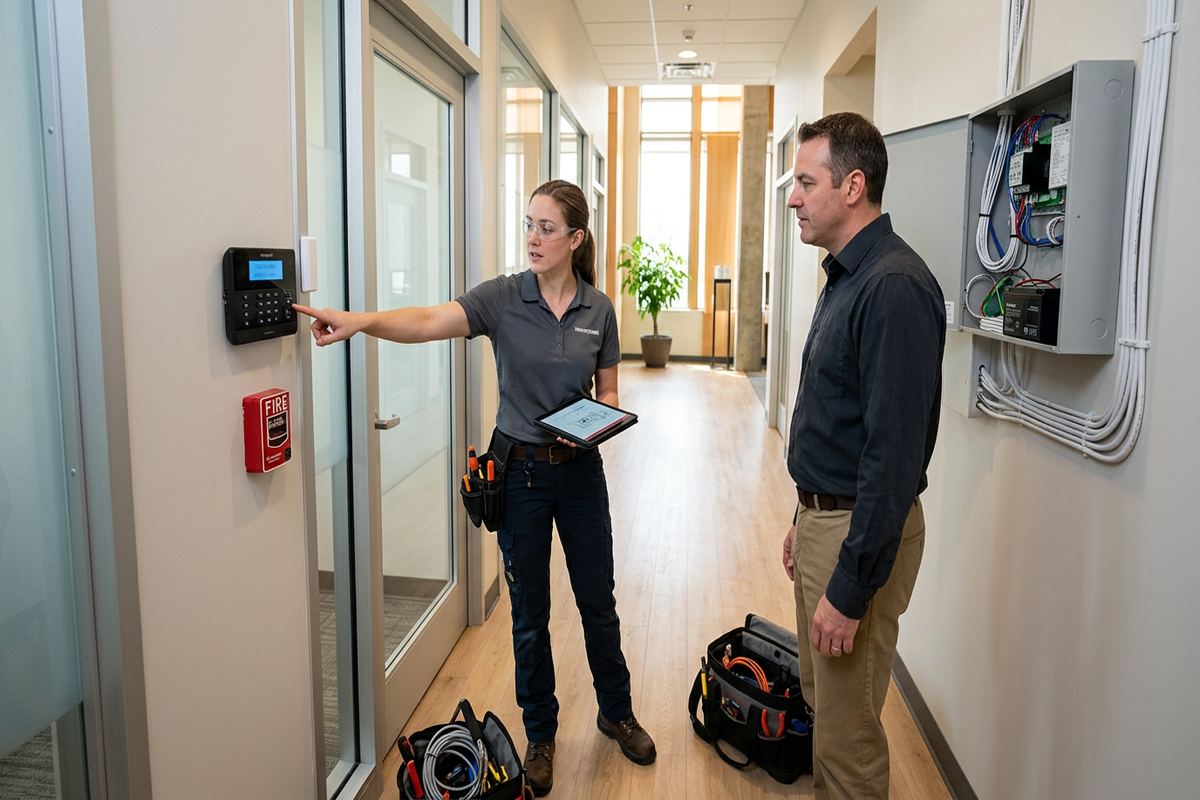
Handover is the stage most installers rush and the one that determines whether the system still works in three years. We test each device, walk you through the day-to-day operation, hand over credentials registered in your name, and leave an as-built record of what was installed where. You should never need to call us to find out what is behind your own wall.
- Site assessment before pricing — no quotes written from a phone call
- Written scope covering equipment, routes, exclusions, ownership, and warranty
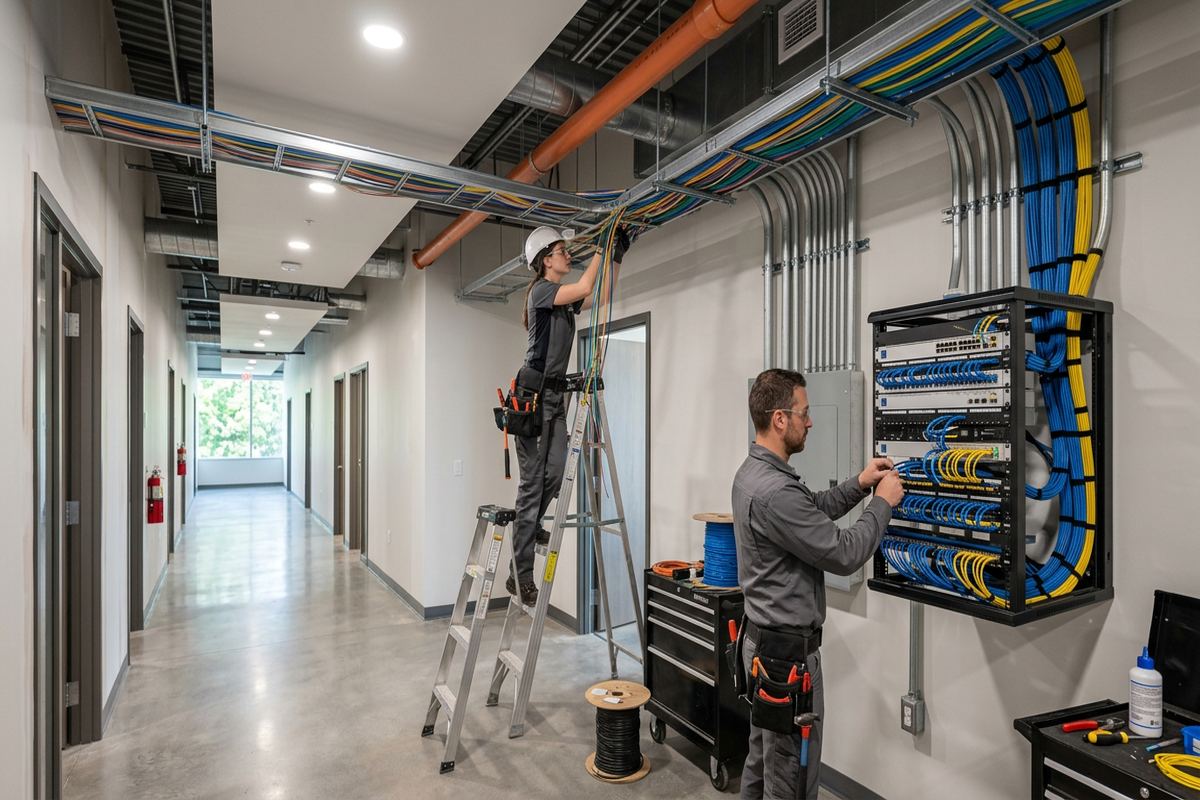
- Continuous cable runs, one termination standard, labelled at both ends
- On-site configuration matched to how the property is actually used
- Handover with your own credentials plus an as-built record you keep
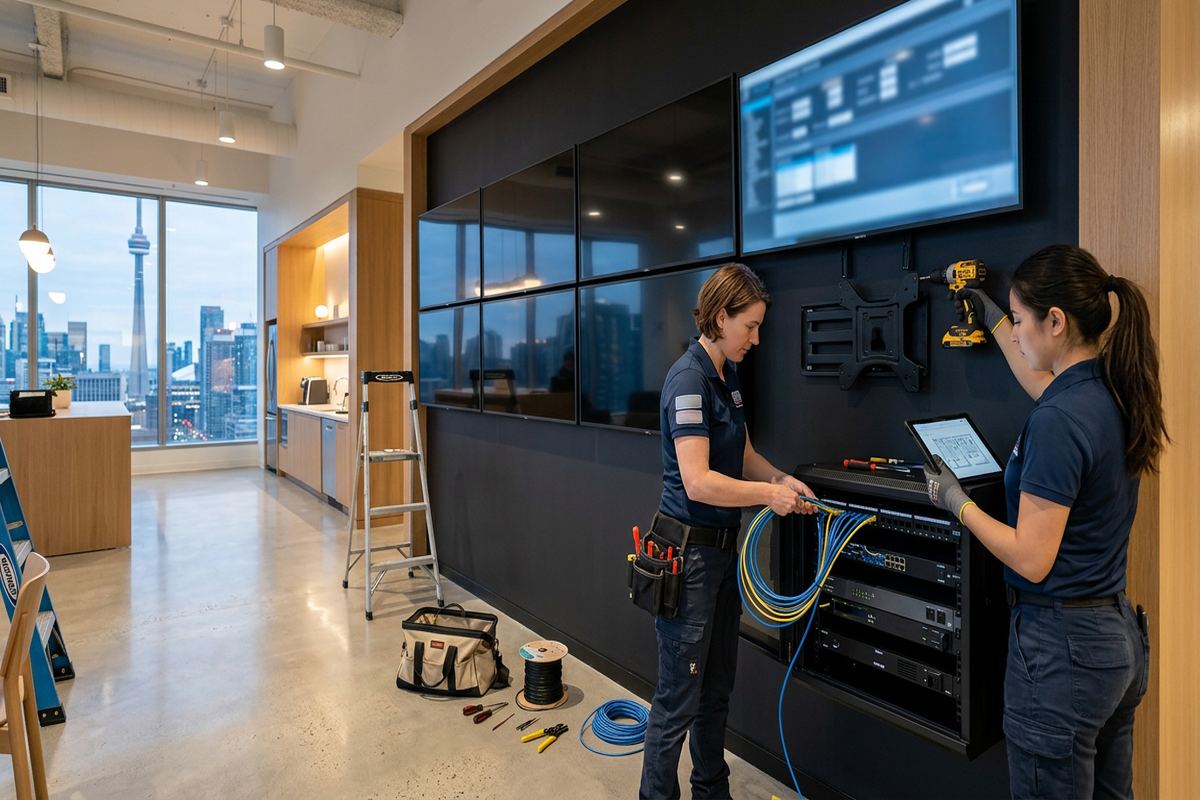
Trusted and recommended for interactive display installation in your area
Get in touch for a straight answer, a written scope, and practical options.
Why displays and monitors work belongs with a single integrator
Most properties do not have a technology problem, they have a coordination problem. The camera company never spoke to the network company. The audio was added two years after the wiring closet was closed up. The access control reader was installed by whoever was on site that week. Each decision was reasonable in isolation, and together they produce a building where nothing quite works with anything else and no one is accountable when it fails.
Running interactive display installation through one integrator means one cable plant, one network design, one labelling scheme, and one number to call. When a device stops responding, there is no argument about whether it is the wire, the switch, the power supply, or the equipment. We installed all of it, so we own the answer.
It also protects the parts that are expensive to change. Equipment is easy to swap later. Cable routes, mounting positions, panel space, and network structure are not. Planning those first, with every system on the property in view, is what keeps the next addition to the building a half-day job rather than a renovation.
- One accountable contractor for design, install, configuration, and support
- Shared cable plant and network instead of parallel, competing installs
- Spare capacity left in panels, switches, and pathways for future additions
- Documented labelling so any technician can trace a run years later
- No finger-pointing between trades when something needs attention
Signal, sources, and a system that starts on time
Cable length dictates the approach. Short runs are straightforward; longer runs need extenders or fibre rather than an optimistic passive cable that fails at the resolution you actually bought. We run signal and power in-wall with the correct rated cable, leave a service loop, and label both ends.
In meeting spaces, the difference between a good and bad install is the first thirty seconds. Sources should be obvious, switching should be one action, and the display should wake without a hunt for the right remote. We configure defaults, label inputs, and demonstrate it at handover so the room works for whoever books it.
What Interactive display installation costs in Ontario, and what drives the number
We do not publish a flat price for interactive display installation, because the honest answer depends on the building more than the equipment. Two properties with identical device counts can differ substantially in cost when one has accessible pathways and the other requires fishing cable through finished walls, working around masonry, or coring for a single run. The equipment line is usually the predictable part of a quote; labour and pathway conditions are what move it.
The factors that consistently change the price are device count and placement, cable distances, ceiling and wall access, whether an existing panel or rack has usable space and power, the amount of make-good work required, and whether the job can be completed in one visit or has to be staged around trades, occupancy, or business hours. Height, exterior work, and anything requiring lifts or after-hours access also carry real cost.
What we can promise is that the number in the scope is the number you pay unless the property reveals something neither of us could see, and that if it does, you hear about it before the extra work happens rather than on the invoice. We would rather lose a job on price than win it on an estimate we know will grow.
- Device count, placement, and cable distance
- Wall, ceiling, and pathway access in the existing structure
- Available space and power in the panel, rack, or wiring closet
- Make-good, patching, and finish requirements after cable is run
- Scheduling constraints — occupied spaces, after-hours, or staged trades
Maintenance, support, and what happens after the install
A low-voltage system is not a one-time purchase, it is equipment that lives in a building and ages with it. Firmware needs updating. Storage fills. Lenses get dirty. Batteries in sensors expire. Networks get slower as devices are added. None of that is dramatic, but all of it is the difference between a system that works on the day you need it and one that quietly stopped months ago.
We offer scheduled checks that cover firmware, storage health, device connectivity, physical condition, and configuration drift, and we tell you plainly when something is fine and does not need attention. Support requests are answered by the people who installed the system and have access to the as-built record, which is why most issues are resolved without a second site visit.
Common questions about interactive display installation
Can you hide all the cables?
Yes, in most walls. Power and signal are run in-wall using correctly rated cable, with a service loop for future changes.
Is above the fireplace a bad idea?
Usually, for viewing comfort and heat. If it is the only option, we say so plainly and mitigate with a tilting or pull-down mount.
Can you mount on brick or concrete?
Yes, with the appropriate anchors. We confirm the substrate before quoting.
Can one source feed several displays?
Yes, with distribution hardware sized to the run lengths and resolution. It is planned at design, not improvised later.
Do you handle boardroom video conferencing?
We handle display, mounting, cabling, and source switching, and coordinate with the conferencing platform you use.
We serve 66 locations across Ontario. Coverage for this service is confirmed against the address before we quote — we won't promise a visit we can't schedule.